
Home > Ripping Audio CDs
Ripping Audio CDs
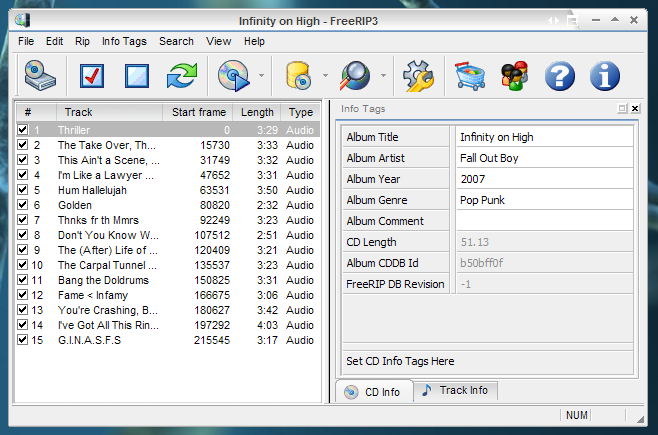
Simply put an audio CD into your computer and start FreeRIP. It will look up the information on FreeRIP DB for you, so now you should see the fields (such as artist, album, titles, year, etc.) filled without you doing anything! The information isn't stored on the CD itself, so the FreeRIP DB provides it all for you, free of charge. If you want to add your own tags you can do so easily by just writing your changes on the right side of the program in the Info Tags section. It is divided into two tabs, CD Info and Track Info. From the CD Info tab you can change the tags for all the tracks while from the Track Info tab you can change the tags for single tracks.
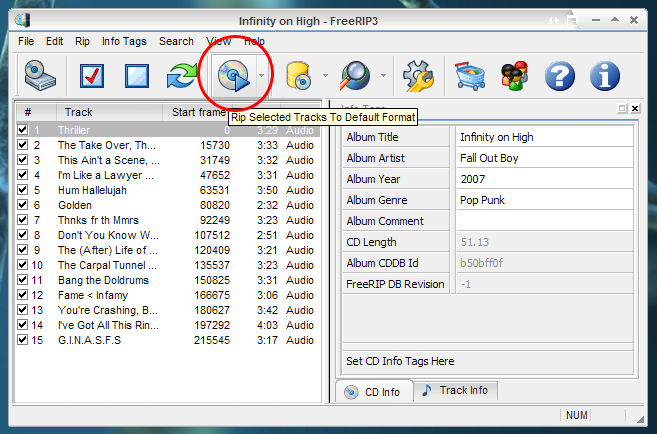
Next, make sure only the tracks you want to rip are checked, then click the "Rip Selected Tracks To Default Format" button
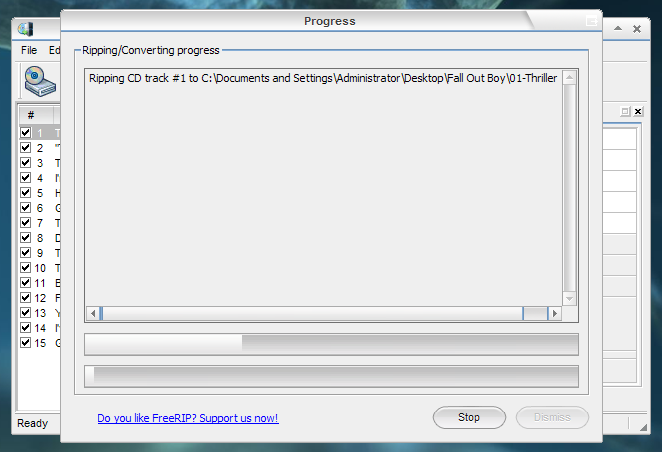
Then you will see a new window pop up to show you your progress
Once you see the "Done" message on that screen, it is done!
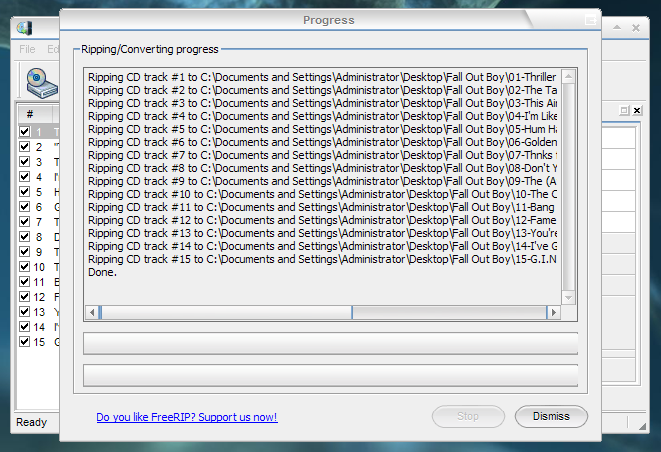
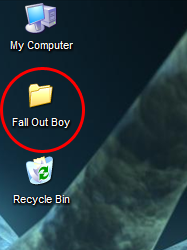
You can find your new files on the desktop in a folder named after the band/artist
If you would like to convert to a format other than the one you have set as "default", you can easily convert to any of the formats by choosing "Rip to..." in the Rip menu.
Previous (Getting Started) | Next (Converting Files)
